


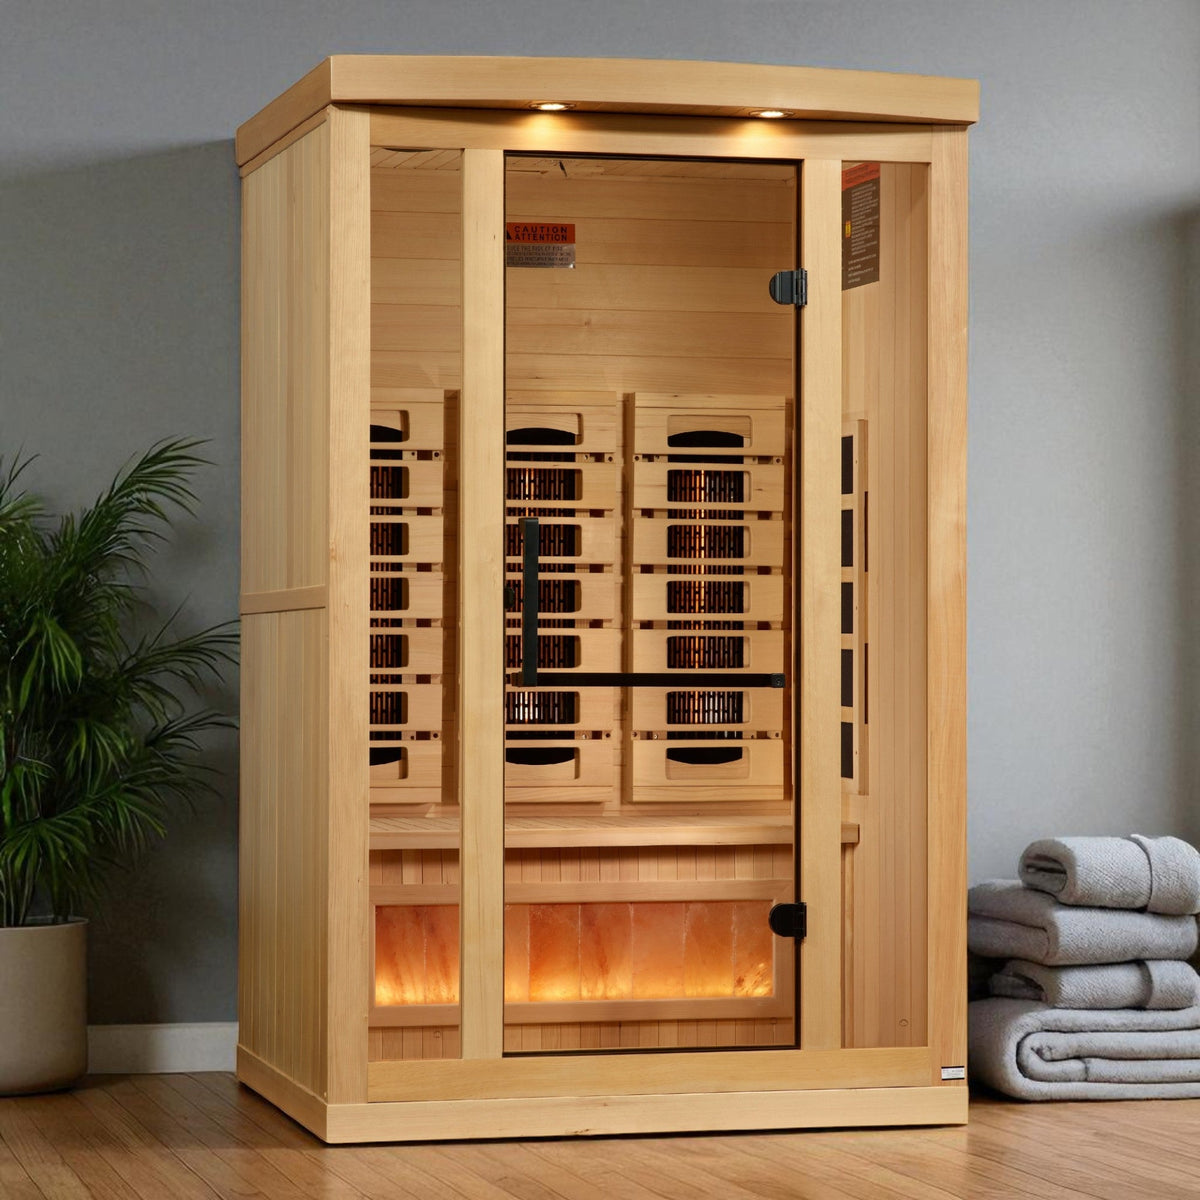
The easiest time to add a sauna to a home is during construction. Decide early whether it will be indoors or outdoors, pick the model or heater before framing, and have the electrician rough in a dedicated circuit sized from the heater maker's manual. Plan a water resistant floor, a vapor barrier for a built-in room, a spot near a shower, and a route for delivery. Doing this on paper first costs almost nothing. Doing it after drywall costs real money.
Why Plan the Sauna During the Build
Adding a sauna after move-in often means opening finished walls to run a 240V circuit, patching drywall, and working around flooring that was never meant to get wet. When the sauna is in the plans from day one, the builder can:
- Run the heater circuit while the walls are open
- Choose flooring and a drain location that suit a sauna
- Frame an exact rough opening for a prebuilt cabin or a custom room
- Place the sauna next to a bathroom or shower
- Prep an outdoor pad and conduit run with the rest of the site work
For buyers, it also means the sauna can be part of the overall home budget instead of a separate project later.
Step 1: Indoor or Outdoor?
This choice drives everything else. Our indoor vs. outdoor guide covers the lifestyle side. From a construction standpoint, here is how they compare:
| Planning item | Indoor sauna | Outdoor sauna |
|---|---|---|
| Space | Bonus room, basement, primary bath or home gym | Backyard pad near the house or pool |
| Base | Water resistant floor that can carry the weight | Concrete pad, compacted gravel or a solid deck |
| Electrical | Circuit run inside the house during rough-in | Circuit run from the panel to the yard, usually underground |
| Weather | None | Model must be rated for outdoor use |
| Best fit | Daily use, cold climates, easy access from bedrooms | Backyard retreat, pool area, cold plunge pairing |
Browse indoor saunas and outdoor saunas to see what fits the plan.
Step 2: Choose the Type of Sauna Before Framing
There are three common paths, and each has different rough-in needs:
Prebuilt infrared cabin
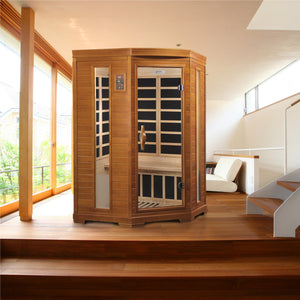
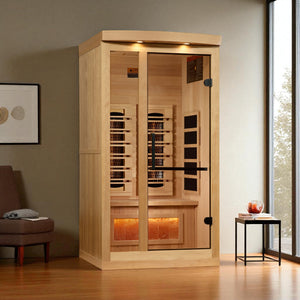
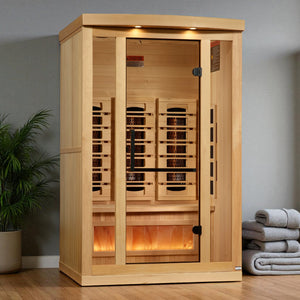
Freestanding cabins arrive as panels and sit on a finished floor. Many smaller models run on a standard outlet. For example, the Dynamic Gracia one to two person infrared sauna is listed as 120V, 15A plug and play. Your builder mainly needs to provide floor space, ceiling clearance, and an outlet on its own circuit.
Prebuilt traditional or hybrid cabin
These also arrive as kits, but the heater is usually hardwired at 240V. Some also need a separate 120V supply for lights. Plan the circuit location to match the heater side of the cabin. See our hybrid saunas and traditional indoor saunas.
Custom built sauna room
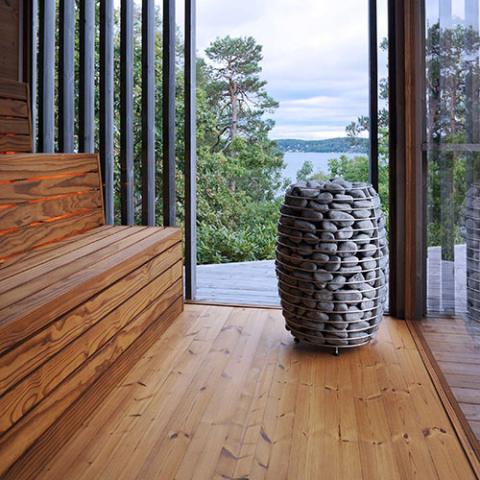
A custom room is framed like any other small room, then lined for heat and moisture. Almost Heaven's indoor prep guide calls for insulating the walls and ceiling with fiberglass or rock wool and adding a foil-faced vapor barrier to keep moisture out of the surrounding walls. You then choose a heater sized to the room's cubic feet. Our heater sizing guide walks through the math, and you can browse sauna heaters.
Step 3: Rough-In Electrical
This is the step that matters most during construction. Every number should come from the specific heater or sauna's installation manual, and a licensed electrician must size and install the circuit. Here are real examples from manufacturer documents:
| Product | What the maker specifies |
|---|---|
| HUUM DROP 6 heater | 240V, 25 amps, 30A breaker, 10 AWG wire (HUUM manual) |
| HUUM DROP 9 heater | 240V, 37.5 amps, 50A breaker, 8 AWG wire (HUUM manual) |
| Harvia KIP 6 kW heater | 240V, 25 amps, #10/2 supply wire, copper wire rated 90°C within sauna walls (Harvia manual) |
| Golden Designs Arosa barrel | 240V, 30A for the stove plus 120V, 15A for the lights |
| Golden Designs Klosters barrel | 240V, 40A for the stove plus 120V, 15A for the lights |
A few rough-in details builders often miss:
- Heat-rated cable: HUUM's manual forbids PVC insulated cable as the heater power cable. Harvia calls for copper wire rated for 90°C inside sauna walls.
- Control location: Many heaters use a separate wall control. Decide where it mounts and run the control wire while walls are open.
- Light circuit: Some setups need a separate 120V line for the light. Redwood Outdoors, for example, notes its manual-control heaters need one, while its Wi-Fi heaters power the light from the single 240V line.
- GFCI rules vary: Harvia's KIP manual says no GFI may be used on that heater's breaker, while plug-in equipment such as many cold plunges ships with a GFCI cord. Your electrician reconciles the manual with local code.
Our full sauna electrical requirements guide goes deeper on voltage, breakers and permits.
Step 4: Placement, Floors and Plumbing
Indoors
- Near a shower: Almost Heaven recommends a spot that is private, accessible and ideally near a bathroom or shower.
- Floor: Use concrete, tile or another water resistant surface. Almost Heaven advises against placing a sauna directly on carpet or hardwood.
- Structure: Confirm the floor can carry the sauna's weight, especially on an upper story. Check the product's listed weight.
- Drain: A floor drain near the sauna makes cleaning easier, and a slight slope toward it helps in damp areas.
- Ventilation: Plan fresh air in and moist air out. Our ventilation guide explains common layouts.
Outdoors
- Base: Almost Heaven's outdoor prep guide suggests a concrete pad about 3 to 4 inches thick for larger, permanent installs, or compacted gravel at least 4 to 6 inches deep.
- Level and drainage: Pick flat ground that does not collect standing water.
- Power route: Distance from the panel affects wire size and cost, so place the pad with the electrical run in mind.
- Clearances: Leave room on the heater side for the heater maker's required clearances.
Step 5: Timeline by Construction Phase
Every project schedule is different, so think in phases rather than dates:
- Design: Choose indoor or outdoor, the model or room size, and the heater. Get the installation manual.
- Site work and foundation: Pour or prep the outdoor pad, and set conduit for an outdoor run.
- Framing and rough-in: Frame the room or rough opening. Run the heater circuit, control wire and any light circuit. Set the floor drain.
- Insulation and vapor barrier: For a custom room, install insulation and a foil vapor barrier before interior paneling.
- Finishes: Install flooring, then paneling and benches, or set the prebuilt cabin.
- Final electrical and inspection: Connect the heater and control, then pass the electrical inspection your area requires.
- Delivery and assembly: Kits ship as freight. Our delivery and installation prep guide explains what to expect.
Order lead times vary by brand and model. Ask us for current timing when you set the construction schedule.
Tips for Home Builders
- Offer the sauna as a planned option with a fixed electrical rough-in, so buyers can add it without change orders later.
- Keep the manual on site. The electrician and framer both need it.
- Standardize a few models across a community so every crew knows the rough-in.
- Pair it with a cold plunge. Many buyers want both. Plan a GFCI outlet and a drain near the plunge spot. See our cold plunges.
Frequently Asked Questions
When should I tell my builder I want a sauna?
Before framing and electrical rough-in. That is when the circuit, control wire, drain and rough opening are easiest to add.
Does a home sauna need a 240V circuit?
Most traditional electric heaters do. Many small infrared cabins run on a 120V outlet. Always go by the product's listed electrical spec and have a licensed electrician size and install the circuit.
Can a sauna go in a basement or bathroom?
Yes, if the floor is level and water resistant, the ceiling height fits the cabin, and the room has reasonable ventilation and the right electrical service.
What base does an outdoor sauna need?
A level, well drained base such as a concrete pad, compacted gravel or a solid deck. Follow the sauna maker's base requirements for your model.
Do I need a permit?
Electrical work for a hardwired heater often requires one, and some areas also review outdoor structures. Check with your local building department.
Planning a Build? Let's Talk
We work with home builders, remodelers and buyers to spec saunas, heaters and cold plunges before construction starts. Visit our Trade & Commercial page to start a project, or call (737) 377-2909.



Leave a comment
This site is protected by hCaptcha and the hCaptcha Privacy Policy and Terms of Service apply.